Have you ever taken a photo that is nearly perfect, if only you could change the color of an object? Luckily PaintShop Pro’s Color Changer tool lets you realistically recolor any object or area on an image to bring it to perfection. This is a great tool that you can use for fun photo edits like changing the color of your hair or clothes, or other projects like seeing what your living room would look like painted in a new color.
Featured Tools

PaintShop Pro 2022
Get all the color and brightness you’ve been missing with PaintShop Pro 2022, your all-in-one photo editing and design software.
Neon Glow Scripts
Add a classy touch to any photo in just one click with the Black and White Glamour script for PaintShop Pro.

PaintShop Pro 2022 Ultimate
Enjoy a faster, easier, more creative photo editor PLUS an exclusive bonus collection of premium software.

Gradient Scripts
With this collection of PaintShop Pro scripts, you can instantly add colorful gradient effects to your photos. Choose from 10 different color schemes.
How to Use the Color Changer Tool in PaintShop Pro
In this tutorial, you’ll learn how to easily change the color of an object or a selected area using PaintShop Pro’s Color Changer tool. You might want to change the color of your hair or an outfit in a photo or test out a new paint color for your living room! We’ll first show you how to change the color of an object with a distinct color and then move on to a more advanced technique using the selection tool to define an area to prevent the color changer from spilling over into other areas of your photo.
How to Change the Color of a Distinct Object
If you have an object in your photo with a very distinct color from the rest of the image, you can change the object’s color with just a few clicks. In this first example we are using the sample image Rainbow Socks.
Open your image in the Edit workspace. Your Materials palette should be open by default, but if not, you can open it by going to Palettes > Materials (or press F6).
Activate the Color Changer tool on the left toolbar.
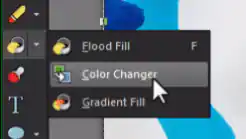
When the Color Changer tool is selected, the Property bar along the top will provide settings where you can adjust the Tolerance and Edge Softness.
- In the Tolerance box, you can set a value from 0 to 200 to specify how closely the replacement color should match the color you are replacing.
- At lower Tolerance settings, only pixels with very similar colors are replaced; at higher settings, more pixels are replaced.
- The Edge Softness determines how pixels that border the recolored pixels are affected. So, keep this relatively low, around 20 for this image.
- Set the Tolerance level to 20.

In the Materials palette select a new color you want to change your object to. Then click on the object that you want to change the color of.
- You might have some pixels that fall outside of the Tolerance setting. If this is the case, you can keep clicking on these missed pixels until the image color is completely changed. It is helpful to zoom in so you can click the exact color you want to replace.
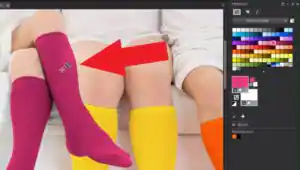
Once the object has been recolored, you can click on other swatches in the Materials palette and try out different colors until you’re completely happy with the result!

How to Change the Color of a Selected Object or Area
Now you’ll learn how to use a Selection tool to define an object or area in the photo before you use the Color Changer tool. This will prevent the new color from spilling over into other areas of the photo. In this example we are using the sample image Red Skirt, and we want to keep the Color Changer from affecting other red areas in the photo, such as the striped top, sunglasses and red lips.
PaintShop Pro has several Selection tools that you can use. In this sample image the Smart Selection brush works best, but you can experiment with the Magic Wand or Freehand Selection tools on other photos to find which one works best for the area or object you want to select.
Activate the Smart Selection Brush on the Selection tools menu flyout.
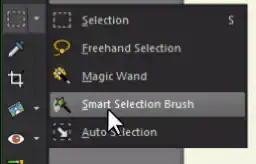
You will notice the Property bar along the top again offers different settings and options specific to this tool.
- In this example we have the Size set to 100, the Feather value set to 2, and the Tolerance around 30.
Click on the object you want to replace the color of, and the selection expands automatically to the edges based on the information that is sampled by the brush.

Now you can activate the Color Changer tool, choose a color from the Materials palette and change the color.

You’ll notice that there will be no color spilling outside of the selection, which makes it much easier to replace colors accurately.
Again, you can go back to the Materials palette and select new colors until you’ve chosen one that you like best.
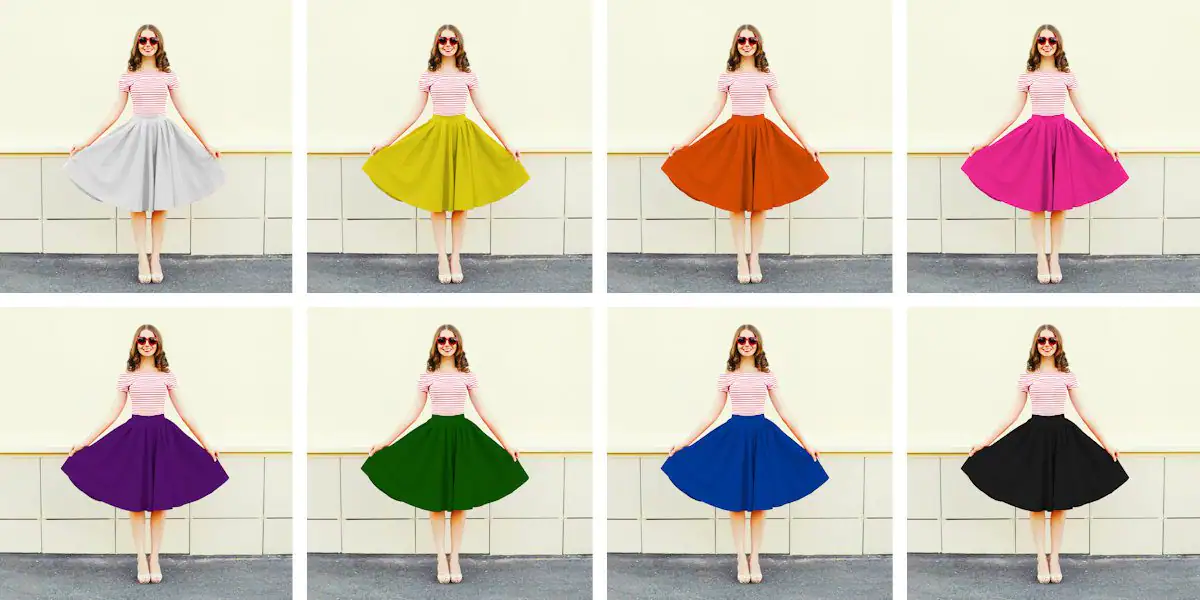
It’s that easy to change the color of an object in your photos with PaintShop Pro and you can have fun experimenting with new colors and designs in your photos!
See what’s new in PaintShop Pro 2022!
Download your FREE 30-day trial and get all the color and brightness you’ve been missing with PaintShop Pro 2022, your all-in-one photo editing and design software.